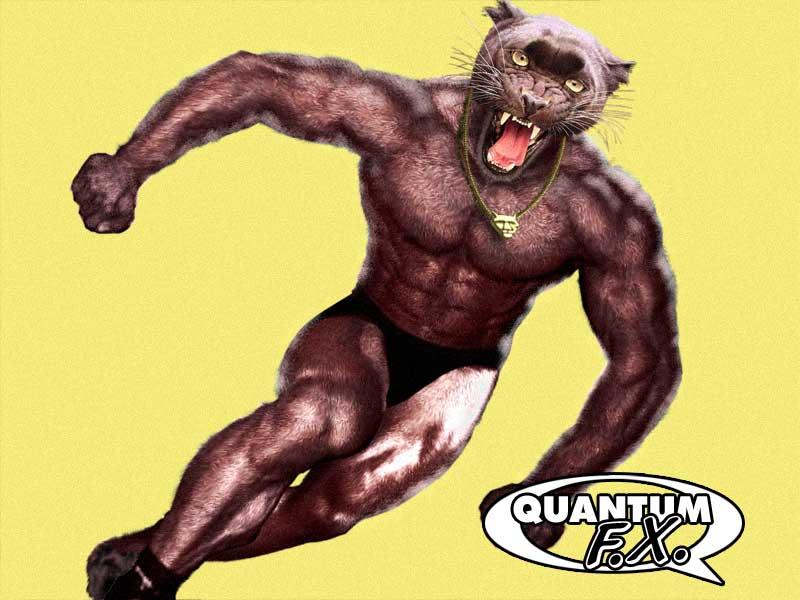
Here's the quick rundown on how to make the fur using Photoshop 3.0-CS. I'm assuming a knowledge of tool properties on this. Make sure you're using a hi-res image or resize using a higher res.)
Step 1: Cut your original out from the background and lock the transparant pixels for the layer. (This one was frankensteined so the work was already done.)
Step 2: Desaturate the original. (Ctrl+Shift+U)
Step 3: Duplicate the layer.
Step 4: Apply the noise filter with Gaussian selected, Monochromatic Selected and a high setting. (I used 25 for this one.)
Step 5: Select the smudge tool and select the spatter brush. (In CS it's about 3/4ths of the way down the brush pulldown menu.) Tips: Select larger and smaller brushes rather than resizing the current brush! Also, set the smudge Strength to about 20%!
Step 6: Carefully make short strokes using the brush. Try not to go over previous strokes.
Step 7: Use the Curves menu (Ctrl+M) to adjust the color.
Step 8: I had to make highlights and match the fur color on the head. For the bluish color I selected the color, added a new layer, and used the spatter brush at 20% opacity. The Brown was it's own layer with "Color" as it's layer type.
I've GOT to know how you did the fur! By the way, did you know that Coal Tiger was going to be the name of the Black Panther? Silver Age Trivia Junkie strikes again!